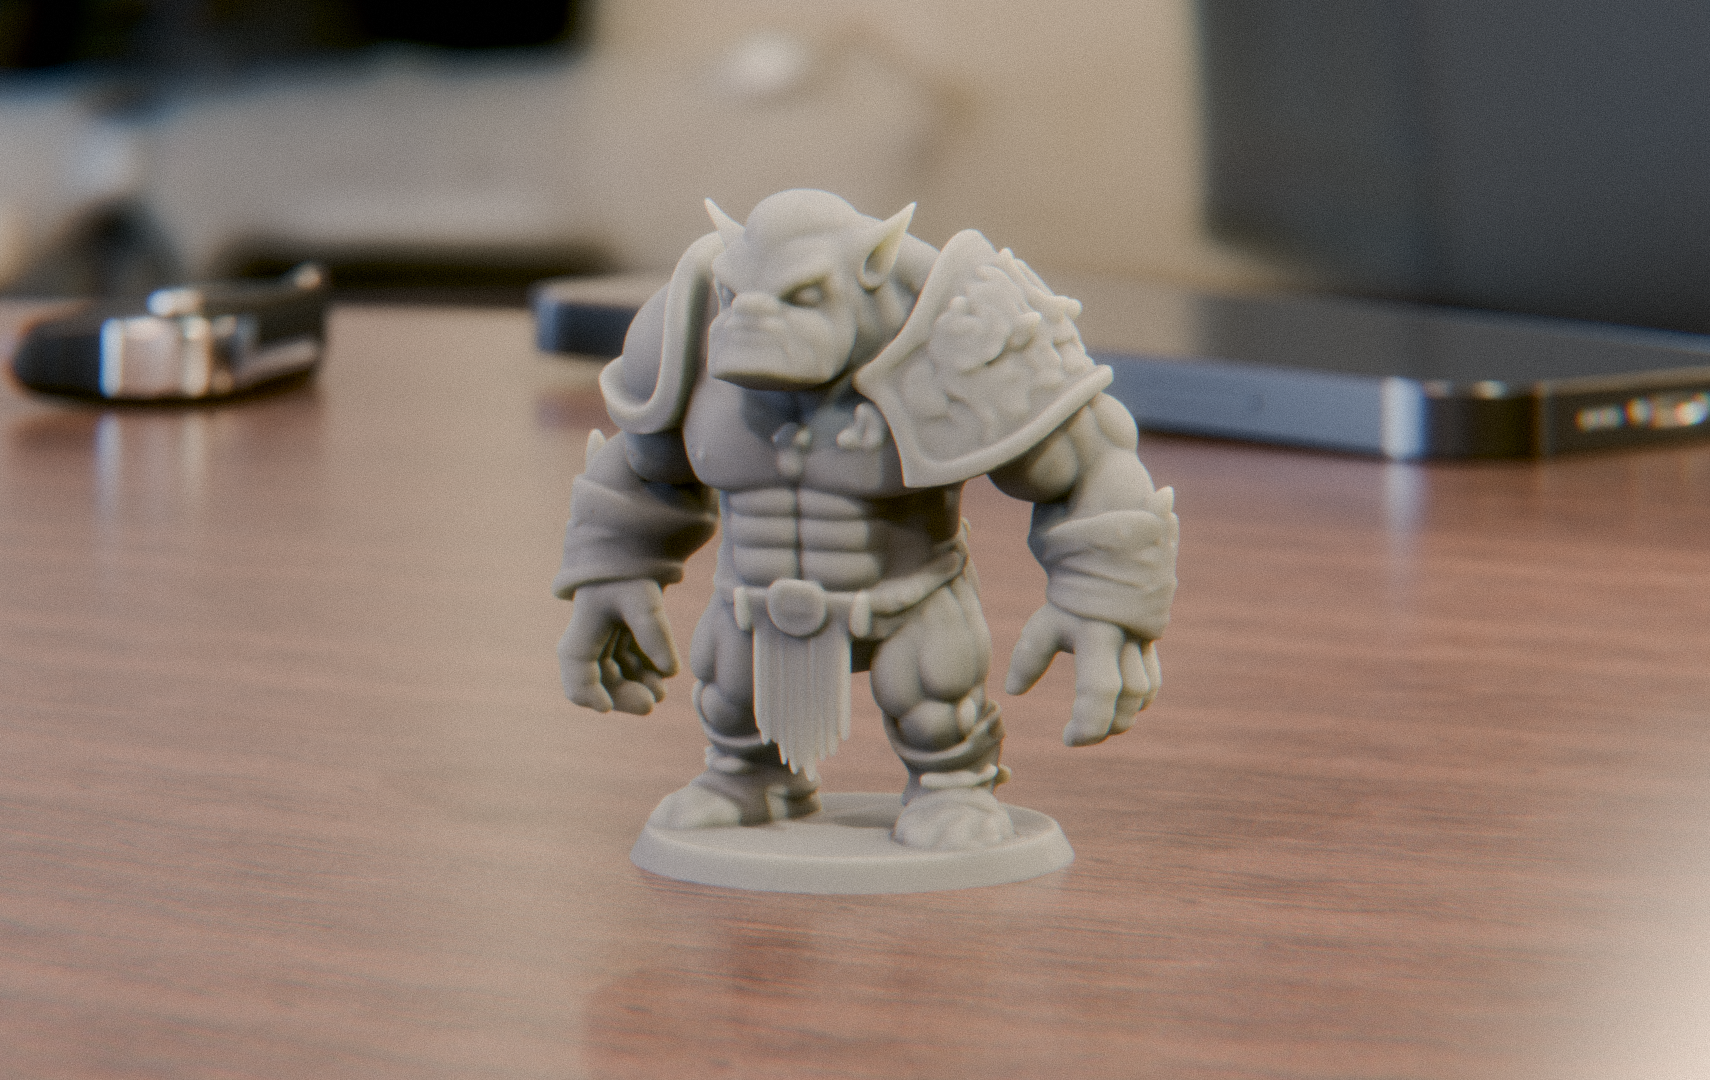
From Spawn3D Design to Physical Reality
In this comprehensive guide, we'll walk you through the exciting process of using Spawn3D's AI features to generate 3D assets, convert them to STL format, and bring them to life through 3D printing. We'll showcase two examples: an Ogre Sentinel and a futuristic Spaceship with Rolling Blades. Let's dive in!
1. Generating 3D Assets with Spawn3D's AI
Spawn3D's AI-powered generation capabilities allow you to create complex 3D models from simple text prompts. Here's how to get started:
Step 1: Access Spawn3D
Log in to your Spawn3D account and navigate to the AI generation interface.
Step 2: Craft Your Prompt
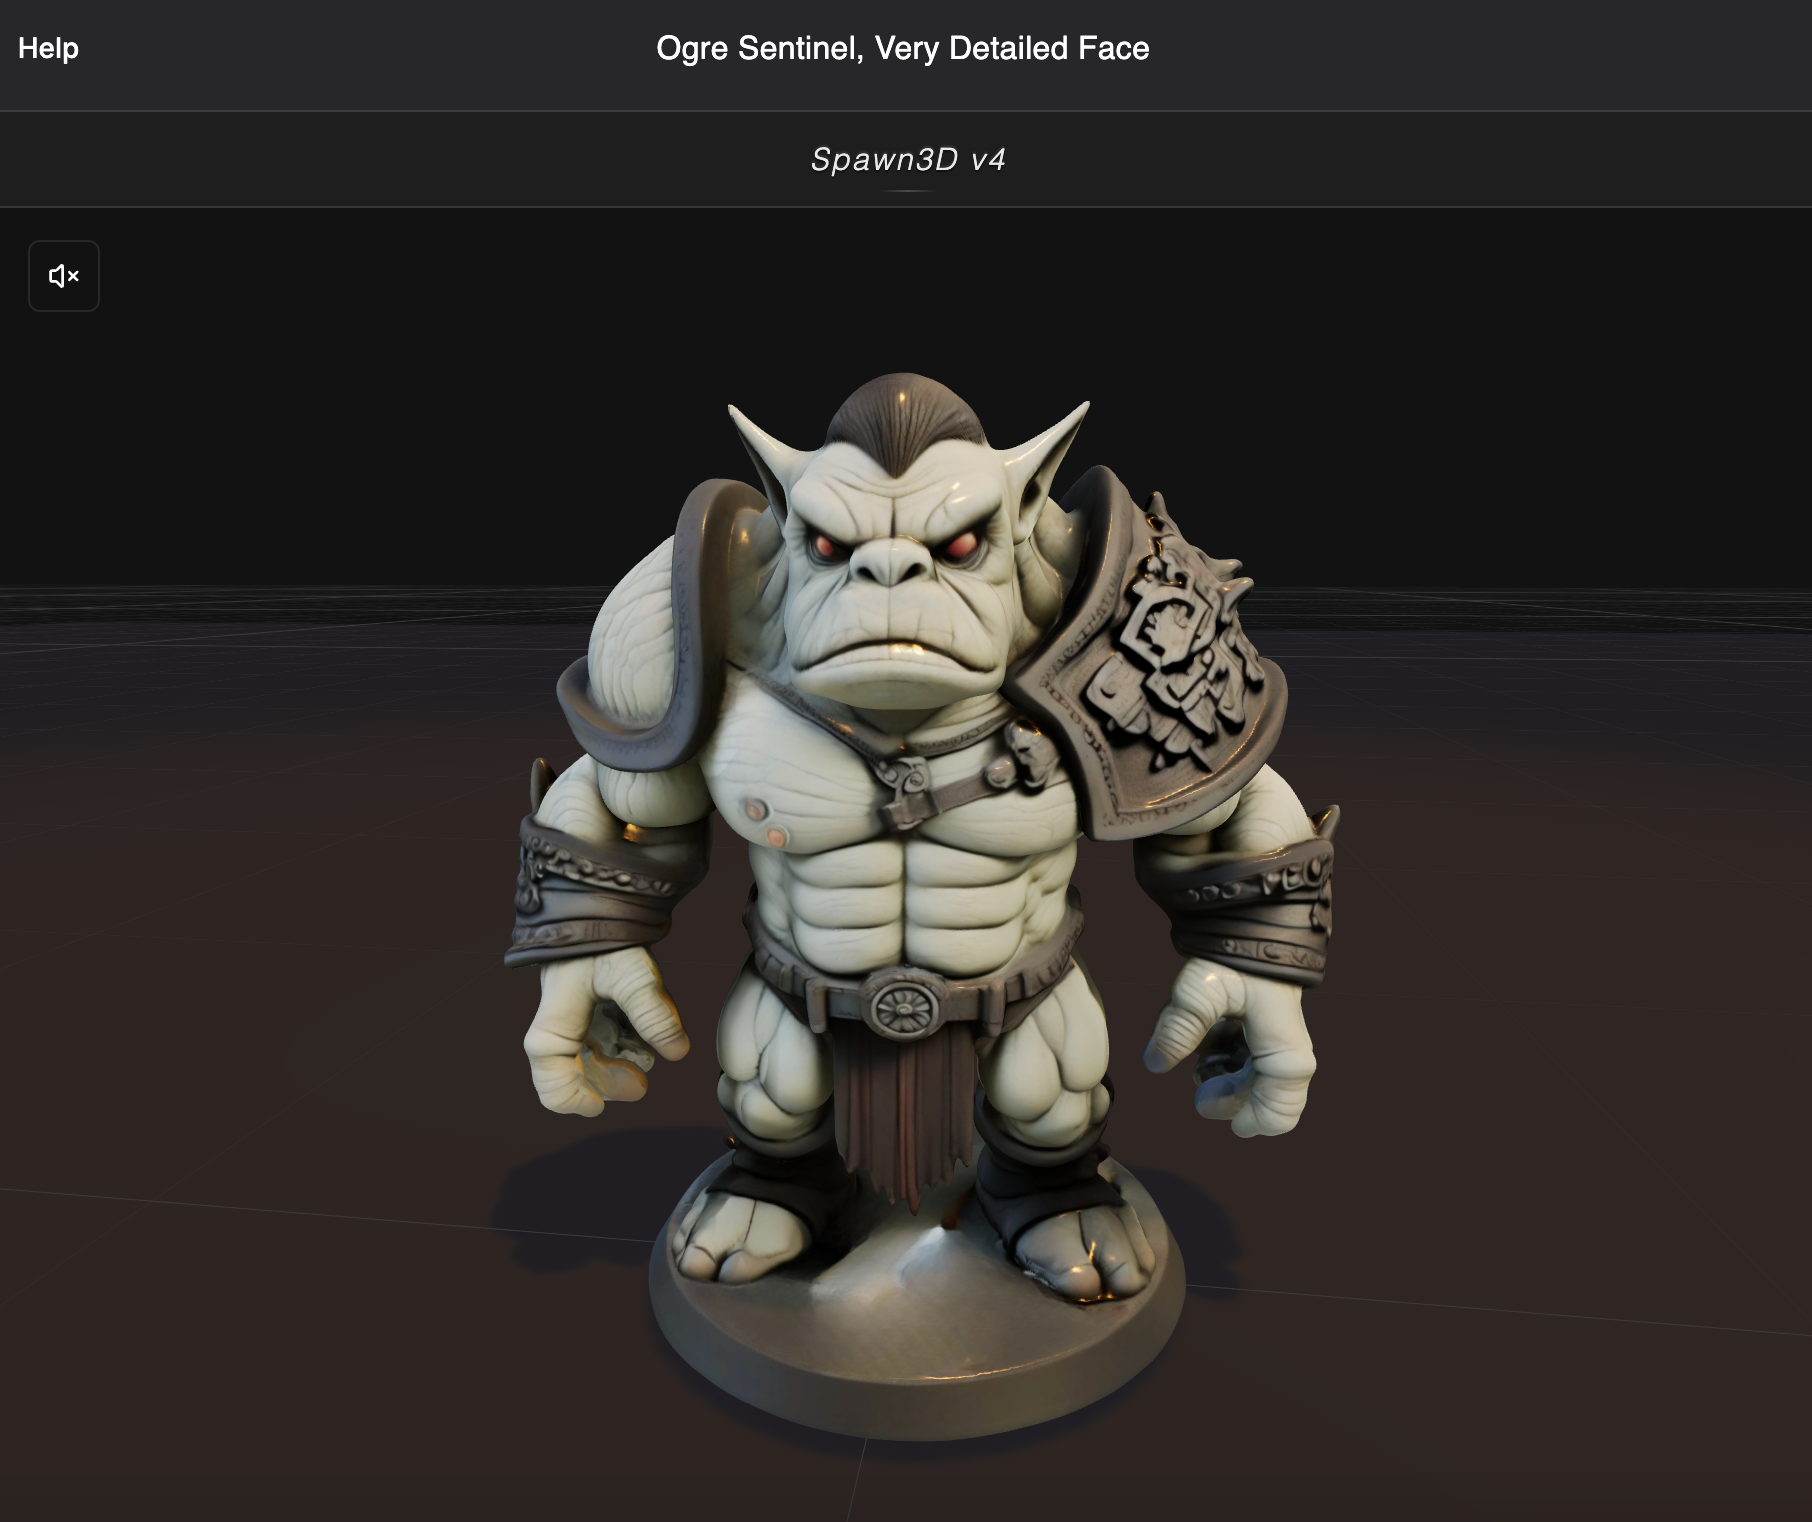
For our first example, we used the prompt: "Ogre Sentinel, very detailed face with big eyes, tall, a high quality texture and standing on a base"
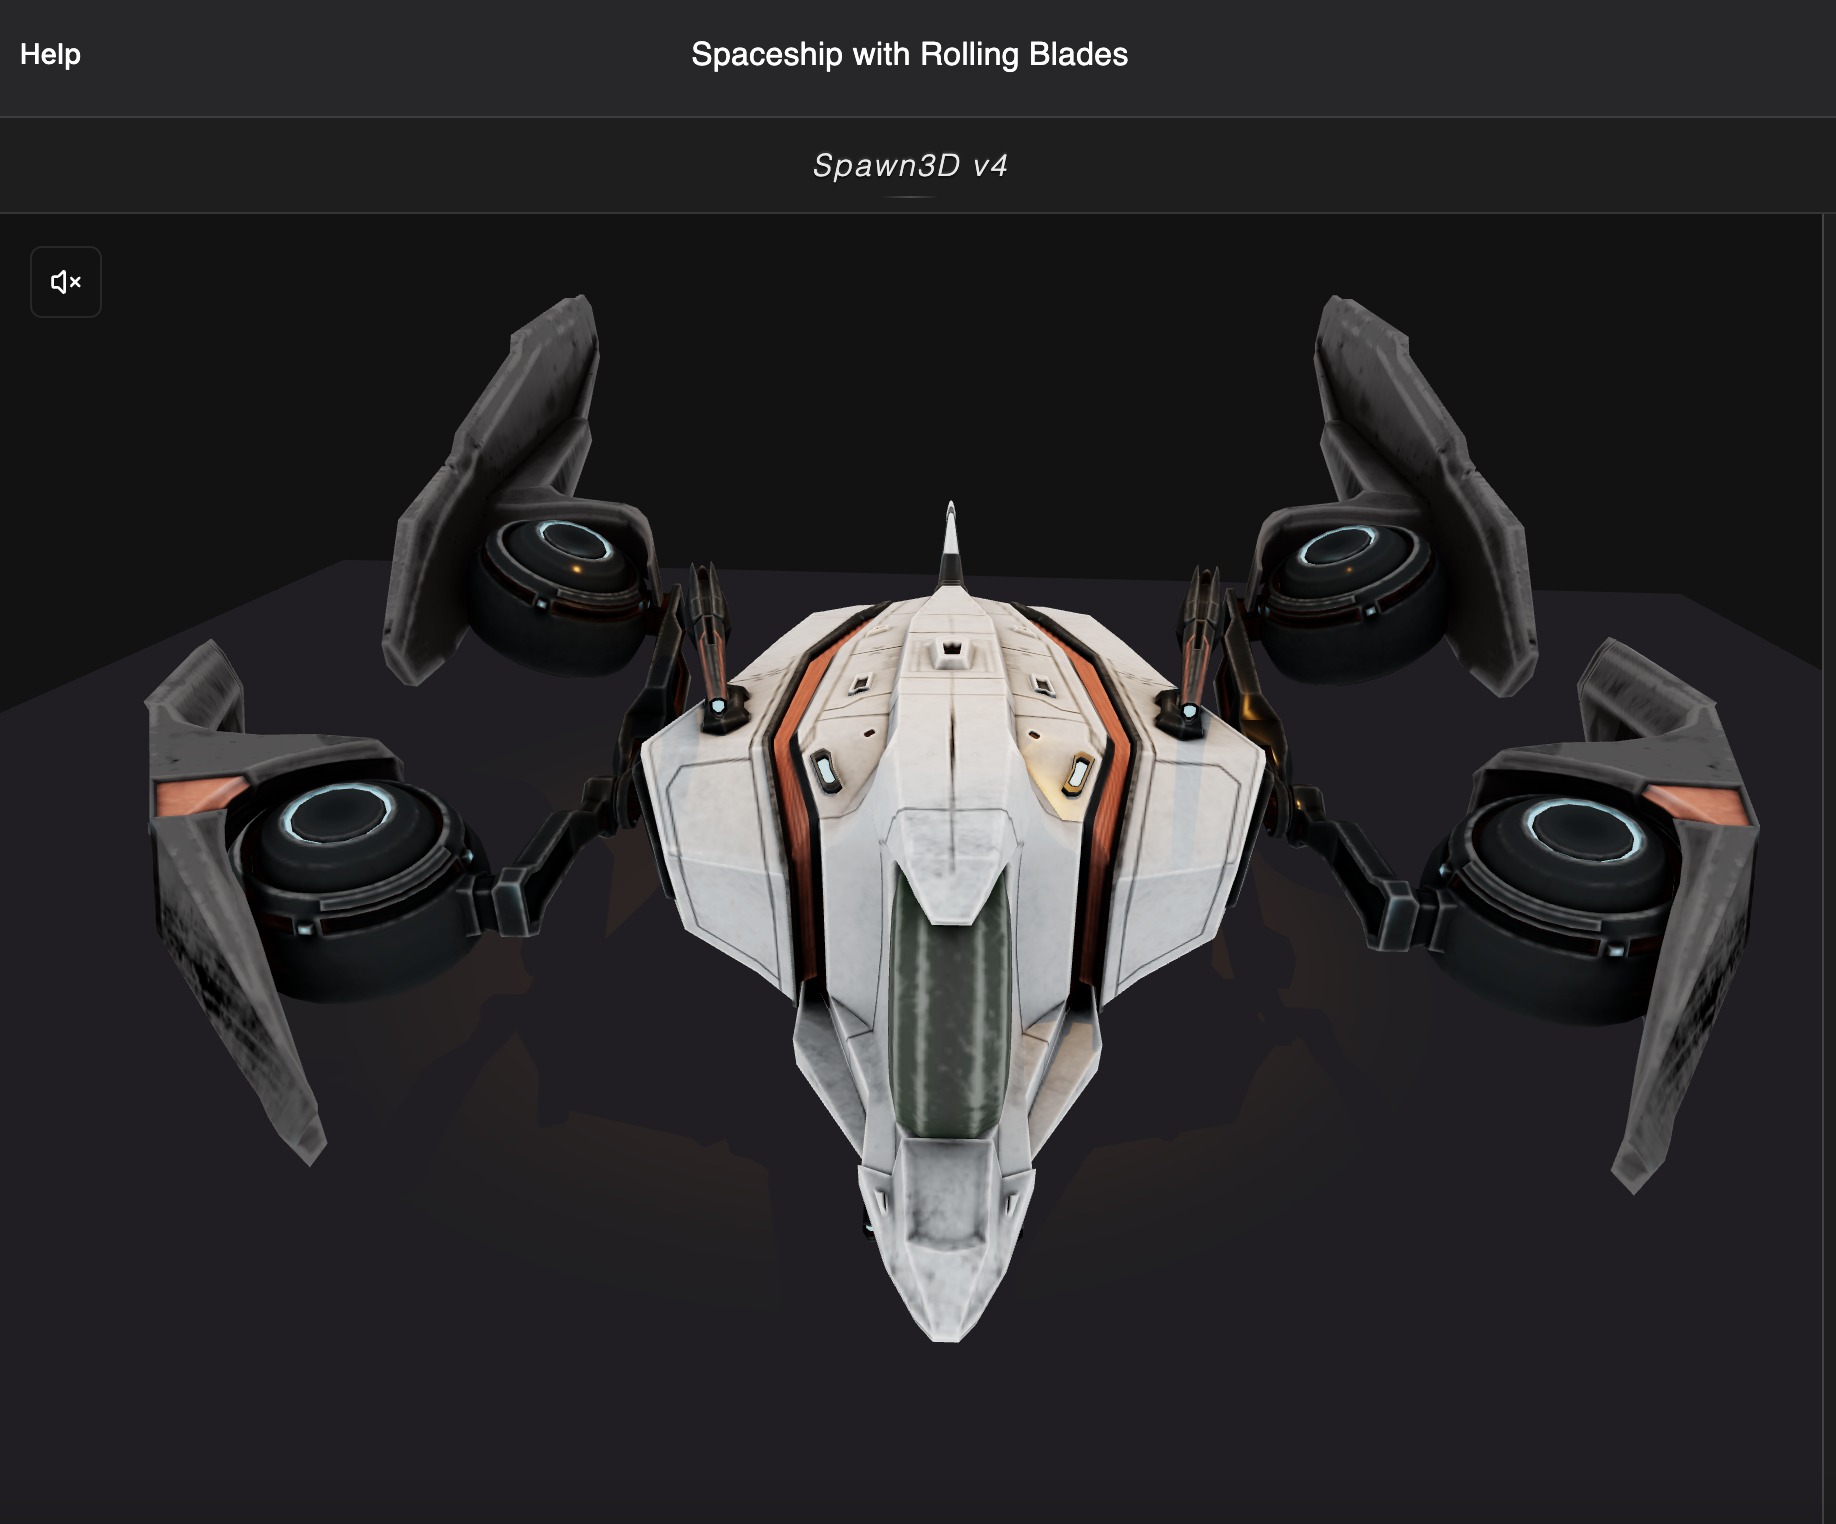
For the second example, we used: "Spaceship with Rolling Blades"
Step 3: Generate the Model
Click the generate button and wait for Spawn3D's AI to work its magic. The system will interpret your prompt and create a 3D model based on your description.
Here's what our Ogre Sentinel looked like in Spawn3D:
And here's our Spaceship with Rolling Blades:
Step 4: Refine the Model (Optional)
If needed, you can make adjustments to the generated model using Spawn3D's built-in tools. This might include tweaking the geometry, adjusting textures, or fine-tuning the overall design.
2. Converting GLB to STL
Once you're satisfied with your 3D model in Spawn3D, it's time to prepare it for 3D printing. This involves converting the model from GLB (the format used by Spawn3D) to STL (a common format for 3D printing).
Step 1: Export as GLB
In Spawn3D, locate the export options and choose to export your model as a GLB file.
Step 2: Use a Conversion Tool
There are several online tools and software options available for converting GLB to STL. Some popular choices include:
- Online converters like AnyConv or CAD Exchanger
- Blender (free 3D software with import/export capabilities)
- Autodesk Meshmixer
Step 3: Import GLB and Export as STL
Using your chosen conversion tool:
- Import the GLB file
- Check the model for any issues (non-manifold geometry, etc.)
- Export the model as an STL file
3. Preparing for 3D Printing
With your STL file ready, it's time to prepare for printing. We'll use PreForm software from Formlabs as an example, but the general process is similar for other 3D printing software.
Step 1: Import STL into PreForm
Open PreForm and import your STL file.
Step 2: Orient the Model
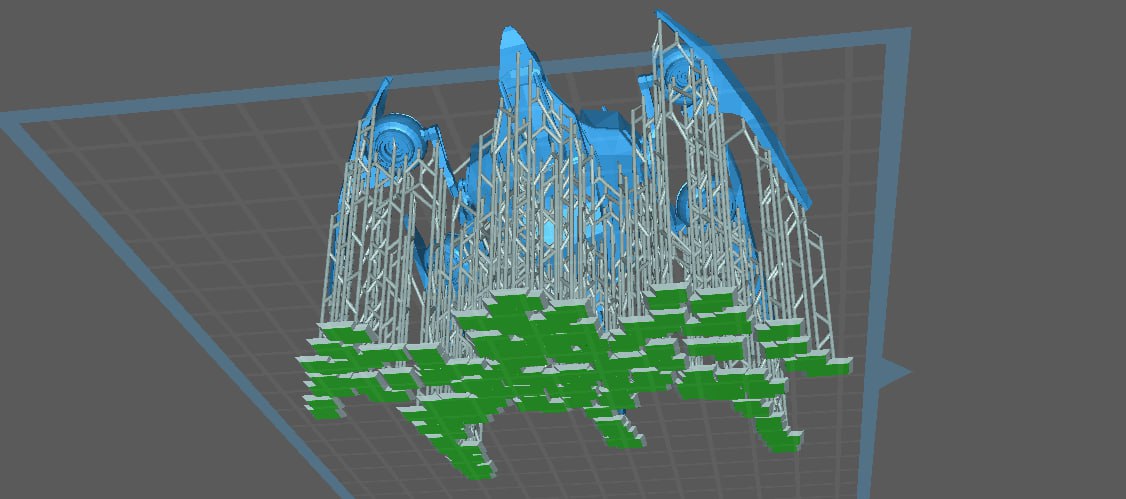
Properly orienting your model is crucial for successful printing. Consider factors like support structures and print quality.
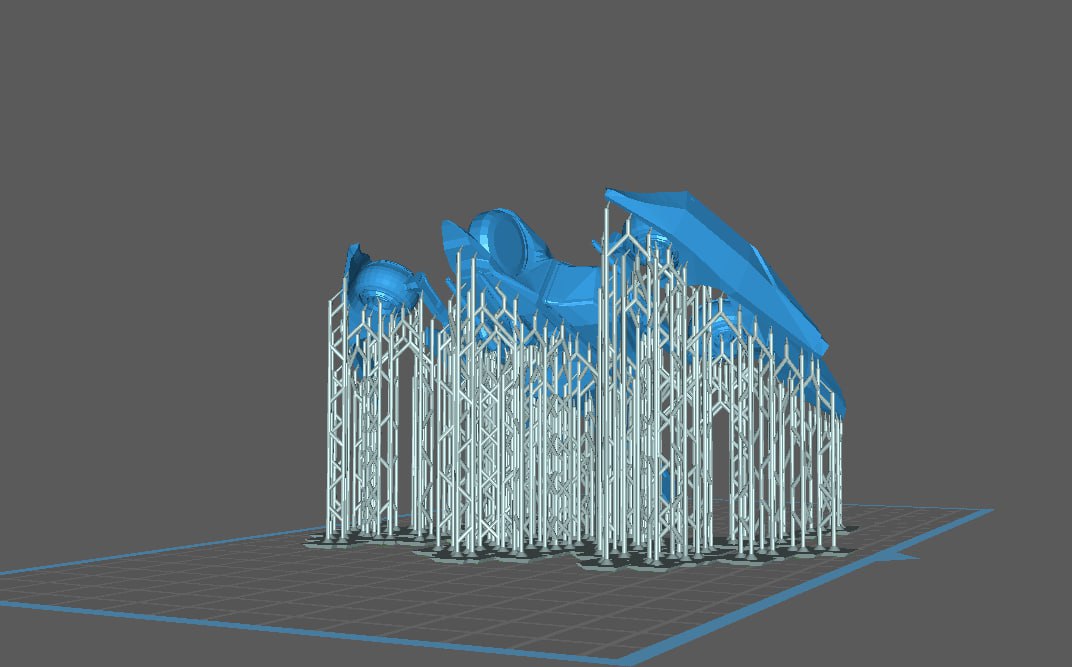
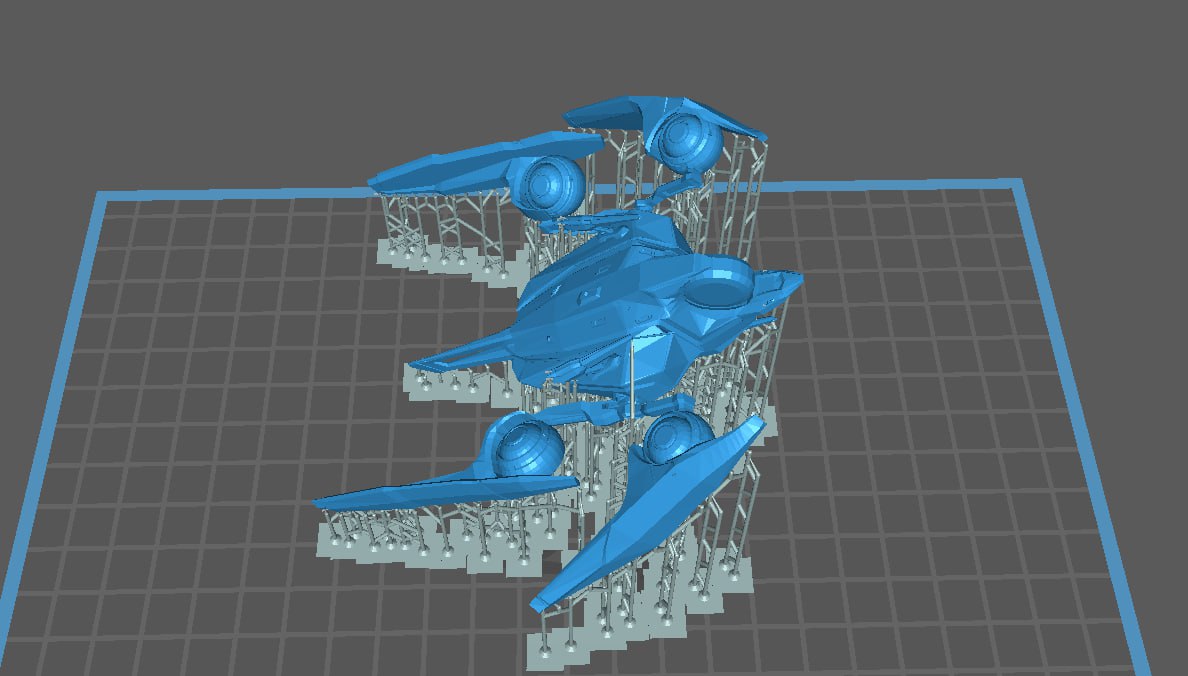
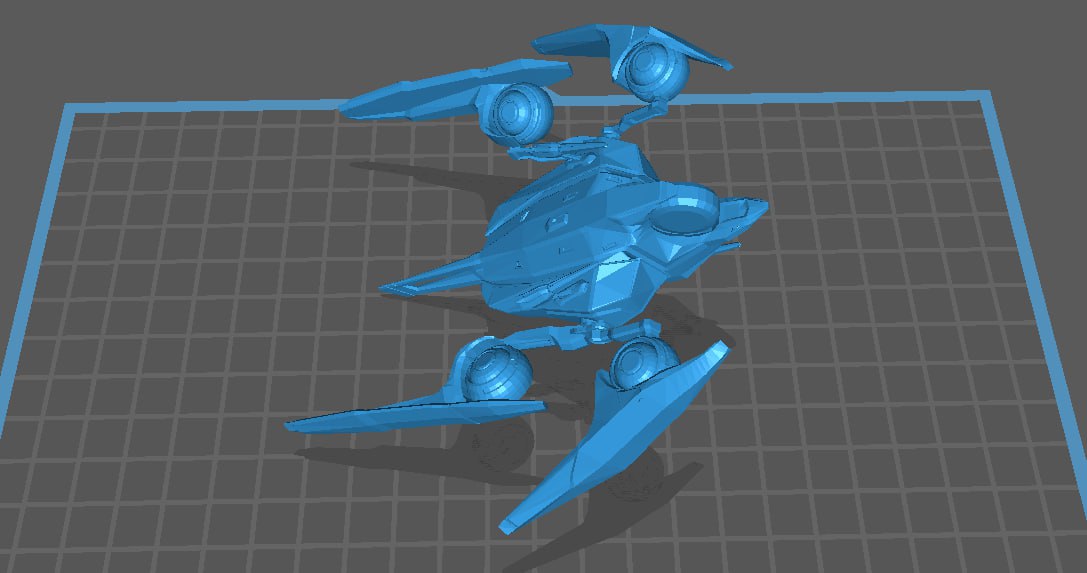
Here's how our Spaceship model looked in PreForm:
Step 3: Generate Supports
Allow the software to generate support structures. These are crucial for ensuring your model prints correctly, especially for overhanging parts.
Step 4: Adjust Print Settings
Set your desired print quality, layer height, and any other relevant settings for your specific 3D printer.
Step 5: Slice the Model
Once everything is set up, use the software to slice the model. This process divides the 3D model into layers that the printer will create.
4. 3D Printing Your Model
Now comes the exciting part – bringing your AI-generated model into the physical world!
Step 1: Prepare Your 3D Printer
Ensure your 3D printer is clean, calibrated, and loaded with the appropriate material (resin for resin printers, filament for FDM printers).
Step 2: Start the Print
Transfer the sliced file to your 3D printer and start the printing process. The duration will depend on the size of your model and your chosen print settings.
Step 3: Post-Processing
Once the print is complete:
- Carefully remove the model from the print bed
- Remove support structures
- Clean the model (especially important for resin prints)
- Cure the model if using resin
- Sand and finish as desired
Here's a video showcasing the process of creating and preparing our Ogre Sentinel model for printing:
The Final Result
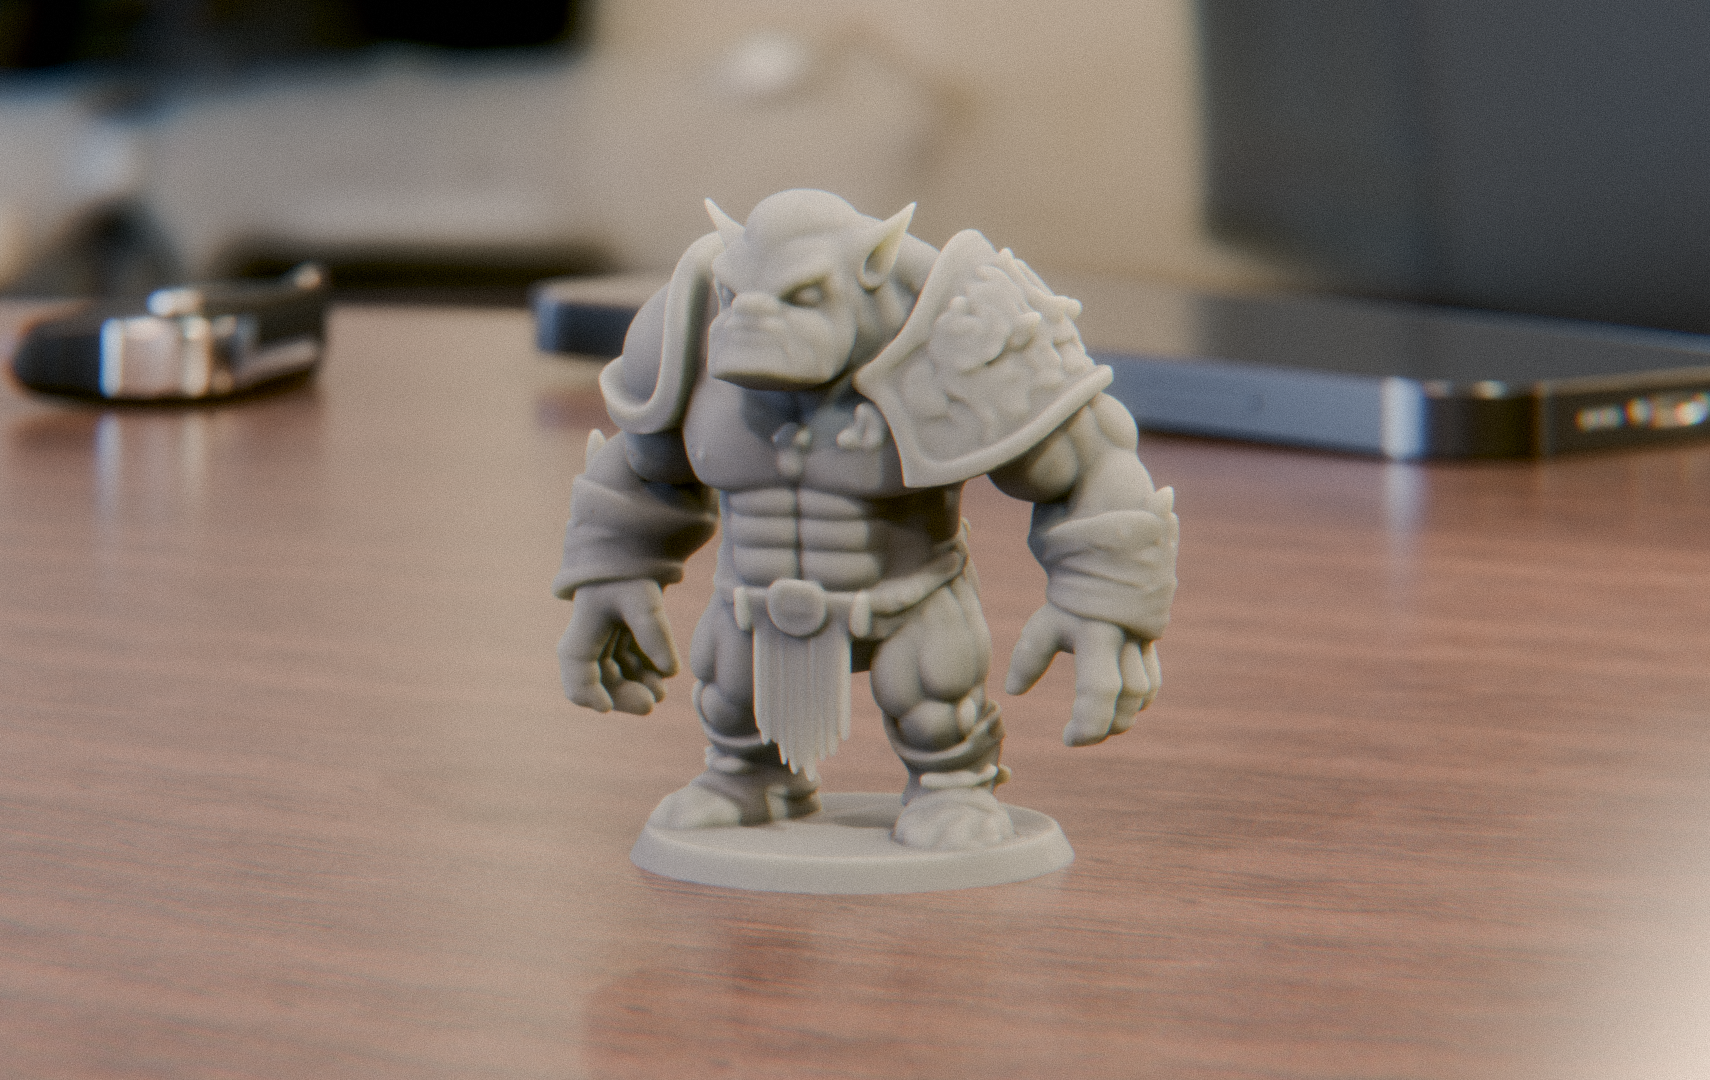
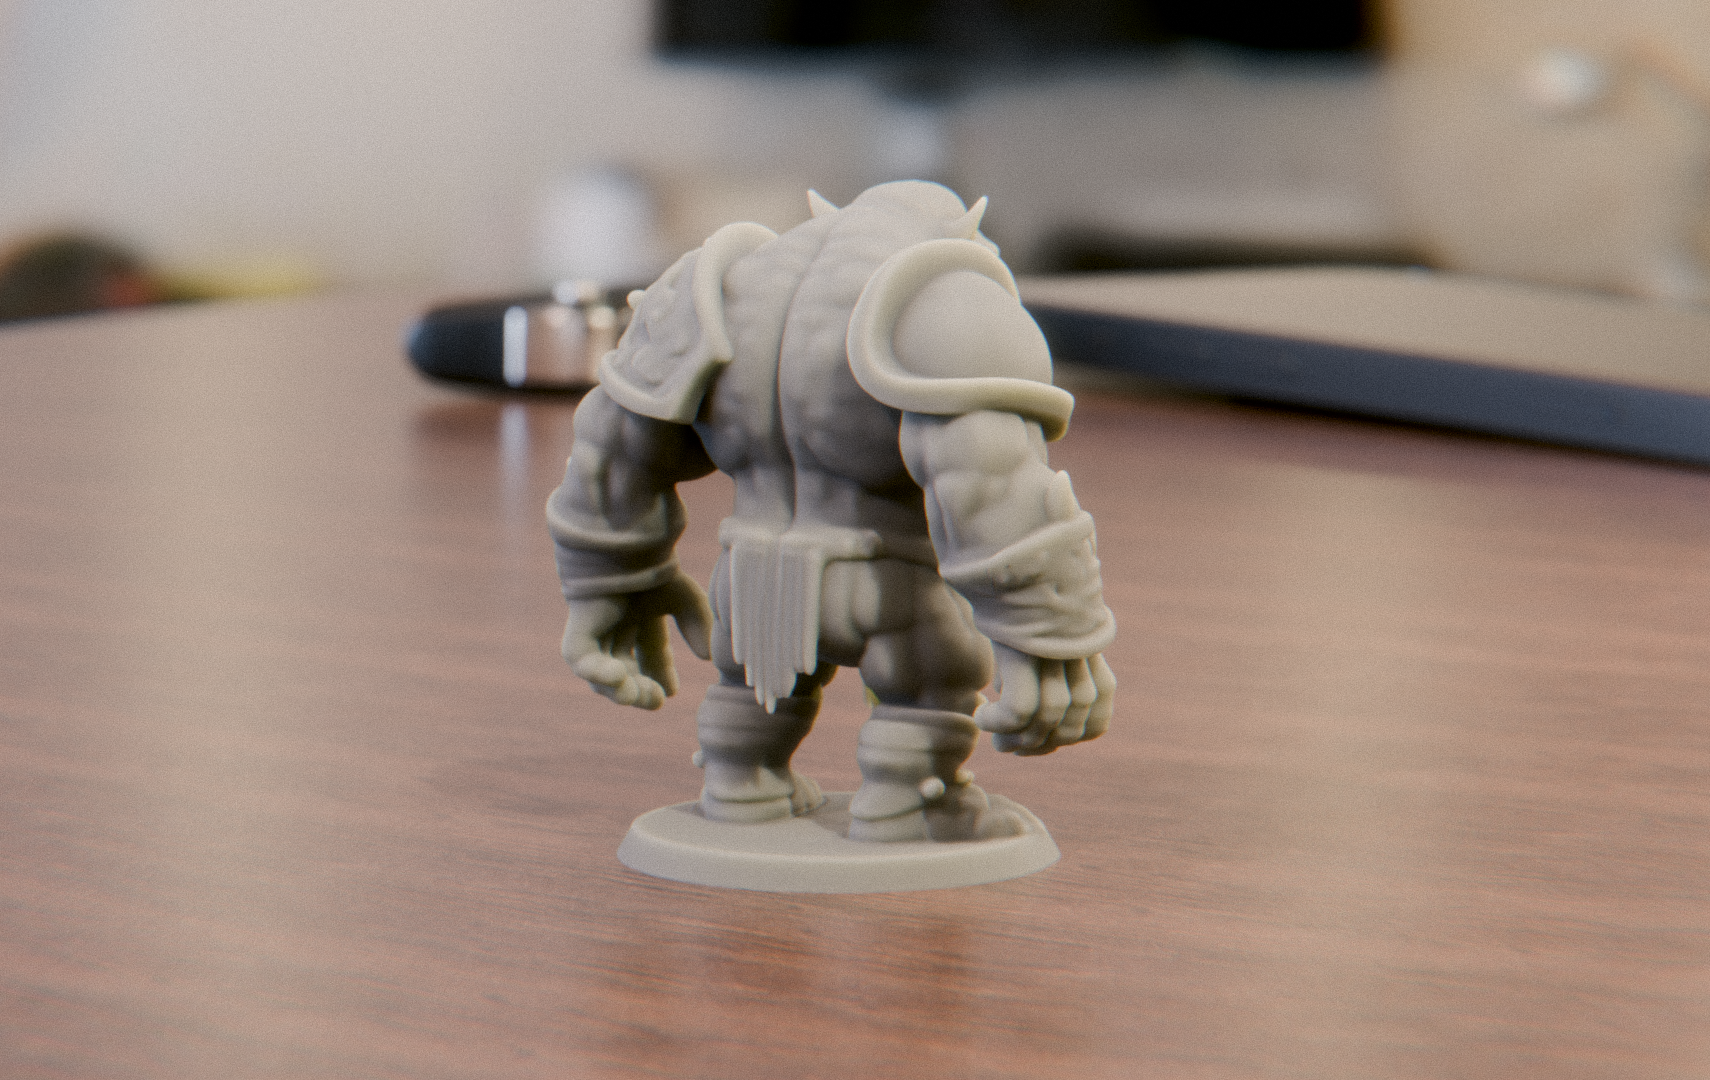
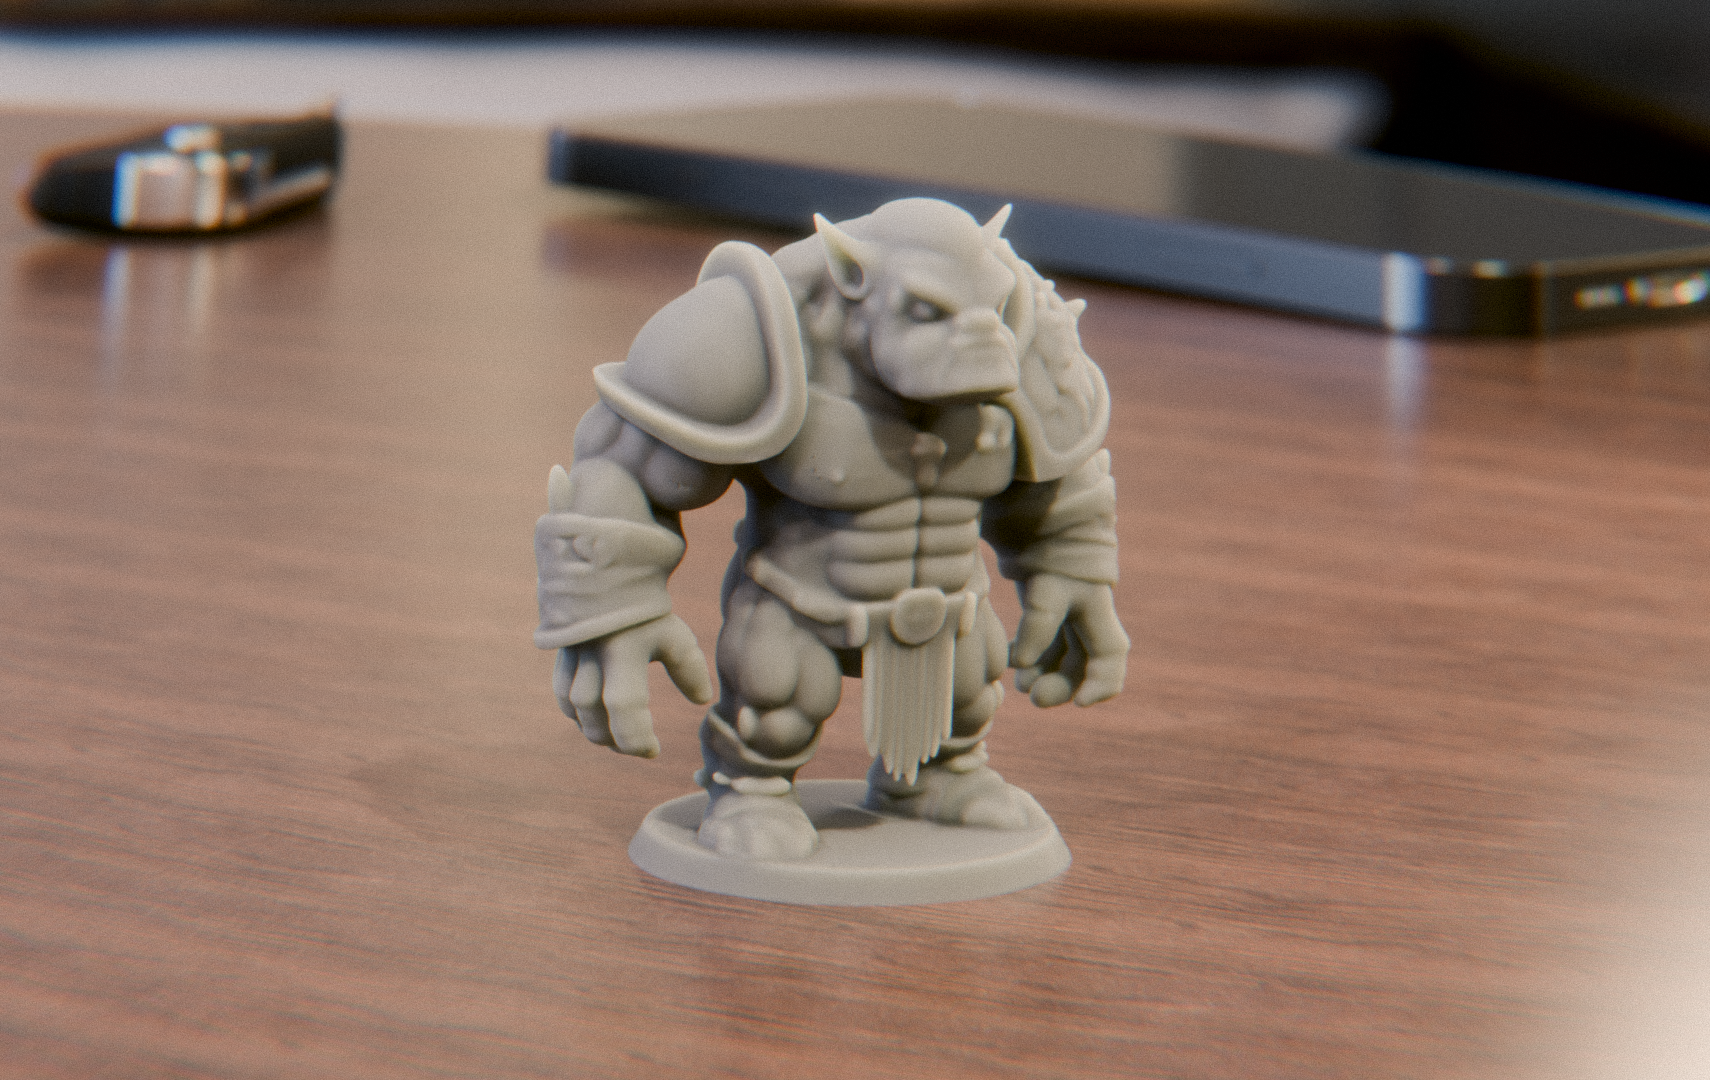
After all these steps, you'll have a physical, 3D-printed model of your AI-generated creation! Here's our finished Ogre Sentinel from multiple angles:
Conclusion
The combination of Spawn3D's AI-powered 3D model generation and modern 3D printing technology opens up a world of possibilities for creators, hobbyists, and professionals alike. With just a text prompt and a few steps, you can bring imaginative concepts into the physical world.
We encourage you to experiment with different prompts, refine your 3D printing skills, and share your creations with the community. The future of AI-assisted design and manufacturing is here, and it's accessible to everyone through tools like Spawn3D.
Happy creating, and may your 3D prints be ever successful!
